Guide
How to pixelate an image safely before you share it
A practical checklist for hiding faces, usernames, addresses, API keys, and screenshot details without losing useful context.
Sharing a screenshot is often faster than writing a long explanation. The risk is that screenshots carry more than the thing you meant to show: a browser tab, an address bar, a customer name, a face in the background, a notification preview, or camera metadata.
The safest workflow is simple: decide what must stay readable, hide everything else, export a fresh copy, then inspect it before posting.
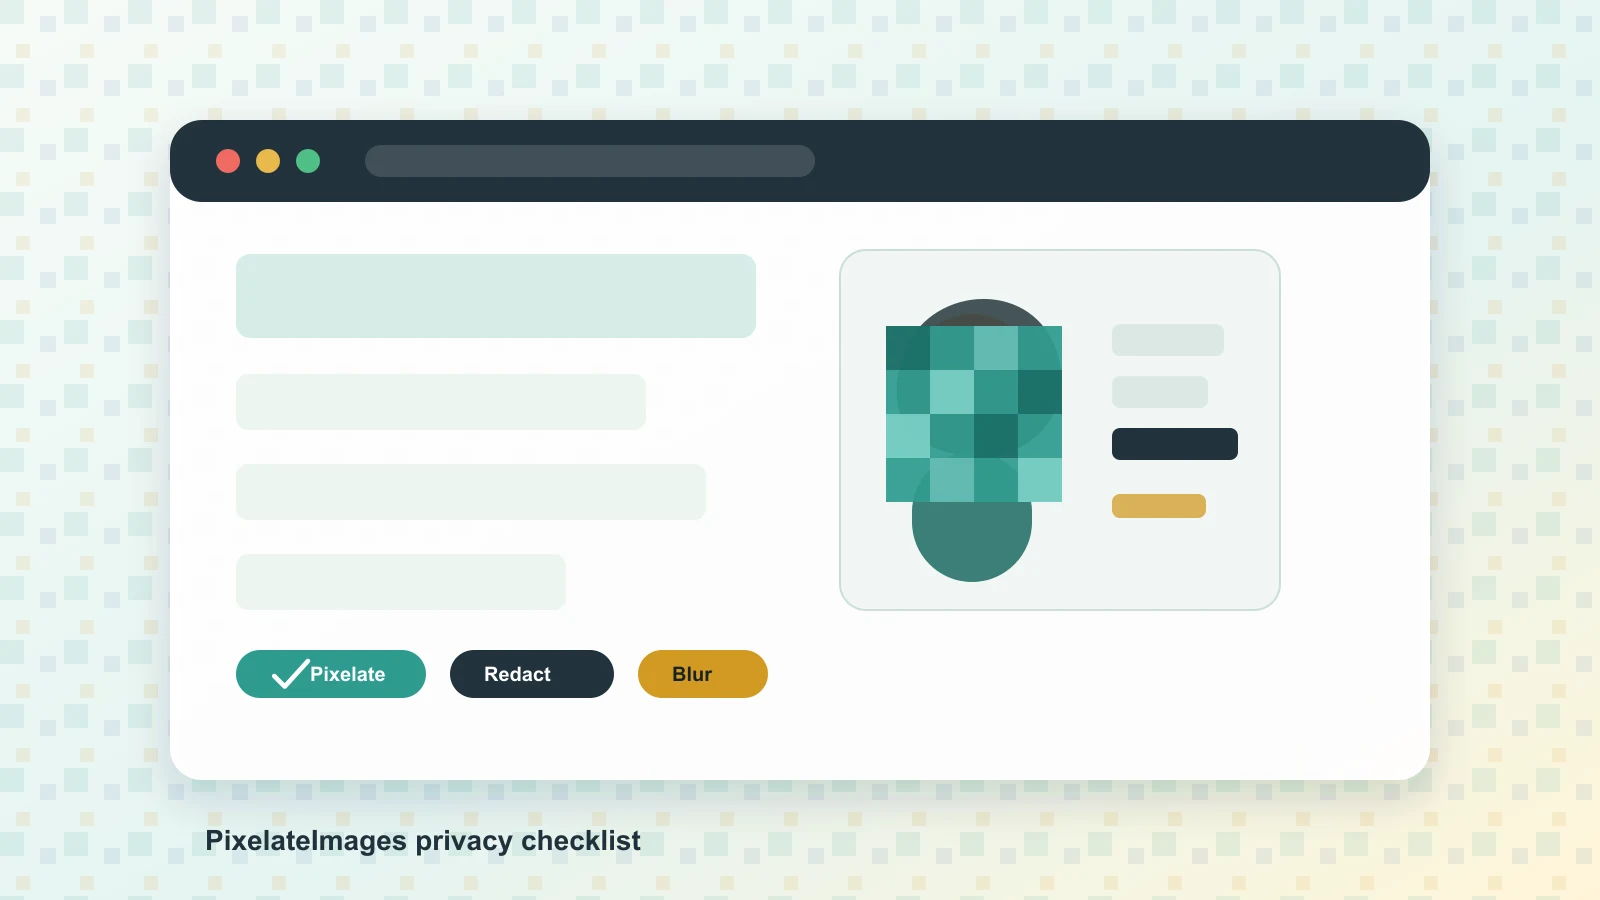
1. Pick the right kind of hiding
Use pixelate image online when the image can stay understandable with a mosaic over sensitive areas. Pixelation works well for faces, people in the background, workspace details, license plates, and private UI fragments where the viewer only needs context.
Use pixelate part of image when only one region needs attention. This is usually the best fit for support screenshots because it lets the error message remain readable while a name, workspace, email, token, or account number is hidden.
Use redact image online for high-risk text. If the content is a password, API key, recovery phrase, ID number, bank detail, home address, legal document, medical detail, or private message, do not rely on a light blur. Cover the full area with an opaque mask so the exported pixels no longer show the original detail.
Use blur screenshot online when the goal is visual focus rather than strong secrecy. Blur is useful for background windows, unrelated text, and layout cleanup, but small high-contrast text can sometimes remain guessable if the blur is weak.
Use blur face online when the main privacy issue is a person in a photo. For children, bystanders, patients, students, customers, or people who did not consent to publication, cover enough of the face that recognition is not realistic.
2. Check the whole frame, not just the obvious secret
Before editing, scan the image from edge to edge. People often miss:
- Browser tabs, bookmarks, and address bars.
- Email previews, chat notifications, and calendar reminders.
- User avatars, workspace names, project names, and file paths.
- Order IDs, ticket IDs, QR codes, barcodes, and map pins.
- Reflections in glass, monitors, glossy phones, or ID badges.
- The background of a photo, especially signs, doors, receipts, and screens.
Privacy guidance from NIST describes de-identification as a set of methods, not a single magic step, and notes that stronger protection often reduces the remaining usefulness of the data. That tradeoff is exactly what you are managing in an image: keep enough context to help the viewer, remove enough detail to protect people.
3. Treat faces, screenshots, and documents differently
For faces, use a larger region than the eyes alone. Hairline, clothing, location, and nearby context can also identify someone. If the person is central to the scene and the stakes are high, crop them out or use a stronger mask instead of a decorative blur.
For screenshots, keep the thing the reader needs: the button, chart, error state, or layout. Hide names, IDs, notifications, tabs, and anything account-specific. If you are preparing a bug report, this usually means using pixelate part of image instead of blurring the entire screenshot.
For documents, be stricter. Research on document redaction has shown that mosaicing and blurring can be ineffective in some text scenarios, especially when the attacker has context. If text must be secret, use an opaque redaction with redact image online and check the exported file.
4. Export a new image and review it at full size
After editing, download a new copy and open it at 100 percent zoom. Ask three questions:
- Can I still read any part of the hidden text?
- Did I cover the full sensitive area, including labels and nearby values?
- Does the exported file show only the edited pixels, not an editable layer or project file?
If the image came from a camera, also think about metadata. Google Photos documentation notes that photos may include location information, and privacy tools often separate visible-pixel editing from metadata cleanup. PixelateImages edits in the browser and exports a fresh image, but it is still worth checking metadata when you are sharing original camera photos in sensitive contexts.
5. A quick decision table
| Situation | Better tool | Why |
|---|---|---|
| Hide a face in a group photo | Blur face | Keeps the scene natural while reducing recognition. |
| Hide one email address in a screenshot | Pixelate part of image | Preserves the useful UI around the sensitive field. |
| Hide a password, API key, or ID number | Redact image | Replaces the pixels instead of merely softening them. |
| Make a screenshot less distracting | Blur screenshot | Reduces background noise while keeping the main point visible. |
| Turn a reference photo into blocky art | Image to pixel art | Optimizes for style, not secrecy. |
6. Final checklist before posting
- The important explanation is still readable.
- Personal details are hidden with enough margin.
- High-risk text is redacted, not lightly blurred.
- Faces and background identifiers are covered.
- The file is exported as a new image.
- You checked the result at normal and full size.
Useful references for this workflow include NIST’s overview of de-identification, the ICO introduction to anonymisation, Google Photos help for photo location information, and academic work on the limits of mosaicing and blurring for document redaction.